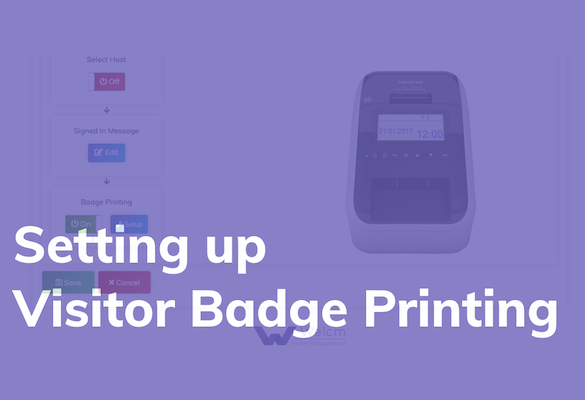
We recommend using the Brother QL-820NWB printer so in this guide we will give you step-by-step instructions from opening the box through to turning visitor badge printing on in your Welcm system.
If you follow the instructions in this guide you will not need to use the instructions provided by Brother. If you would like some one-on-one assistance setting up visitor badge printing please get in touch.
Please note, other iPad compatible Brother printers will also work with Welcm but setup may differ from below.
Contents
- Unpacking the printer
- Parts description
- Setting the paper roll
- Connect the power supply
- Installing the coin cell battery
- Turning the power on / off
- Configure wifi settings
- Turn on visitor badge printing
1. Unpacking the visitor badge printer
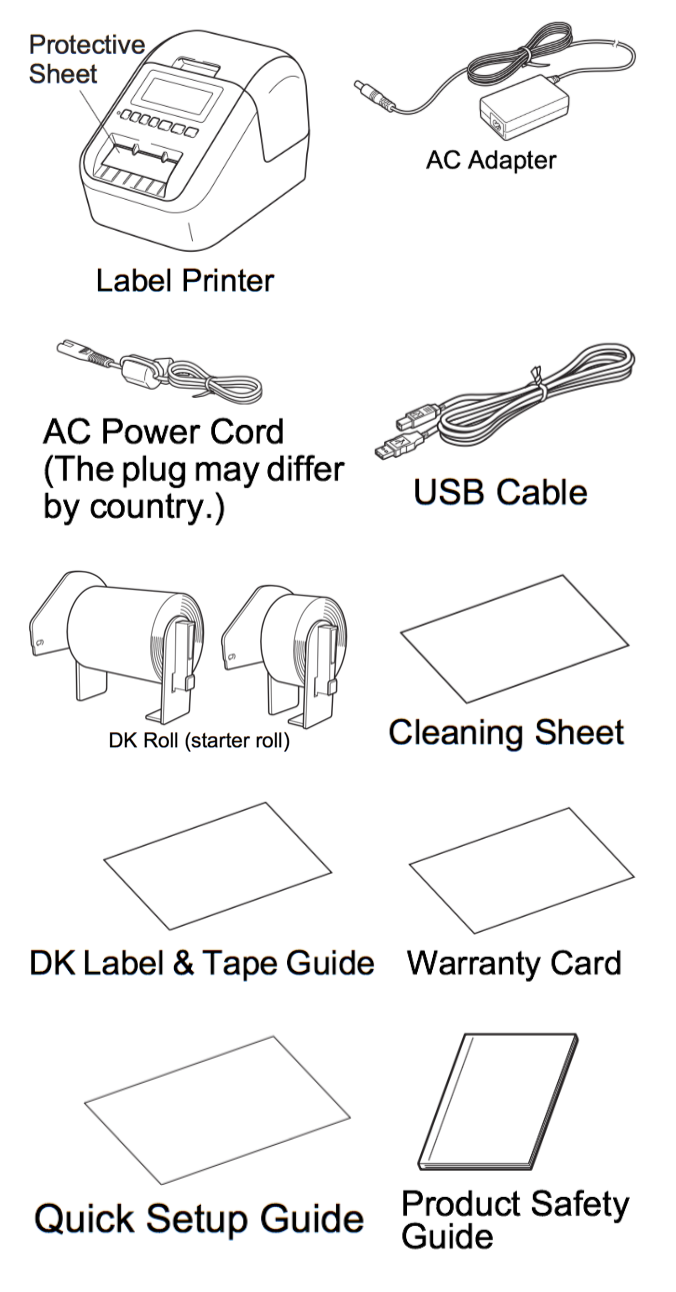
- Unbox your printer and check you have the following items:
- Label printer
- AC adaptor
- AC power cord
- USB cable
- 2 x starter rolls
- these should be disposed of as they are not supported
- Brother DK-1202 badges should be purchased
- Cleaning sheet
- DK label and tape guide
- Warranty card
- Quick setup guide
- Product safety guide
2. Parts description
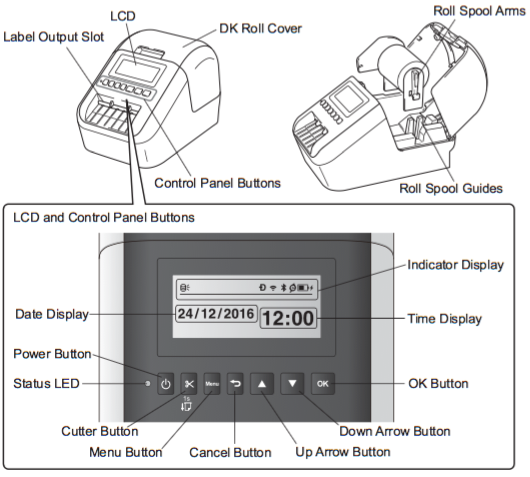
- See images
3. Setting the paper roll
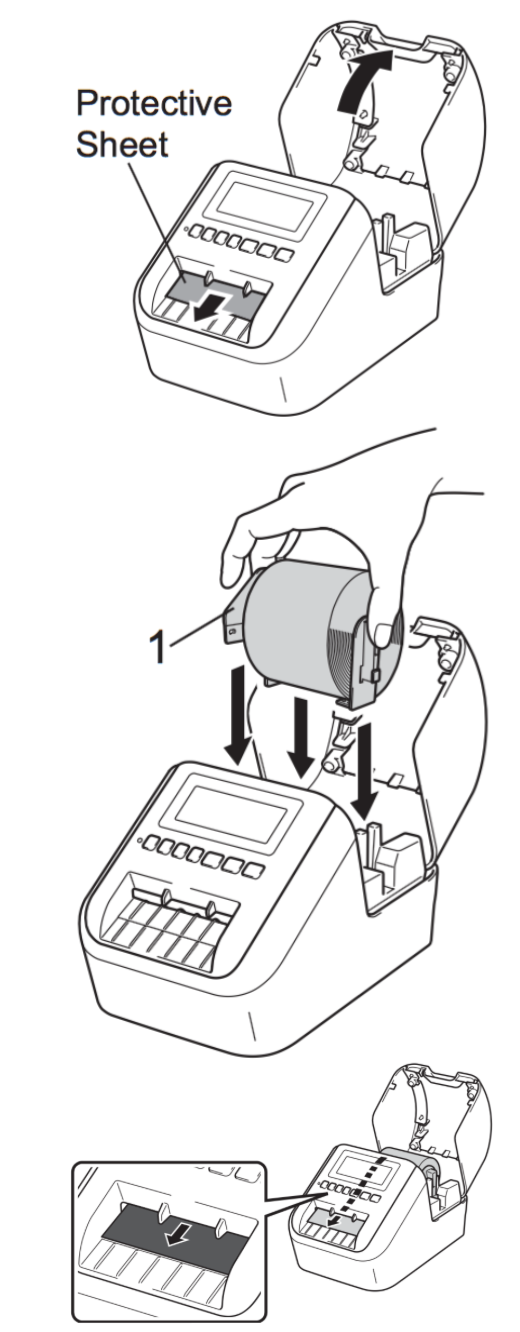
- Open the roll compartment
- Make sure the printer is off
- Hold the printer by the front
- Firmly lift the compartment cover as shown
- Pull out the protective sheet from the outlet slot
- Place the roll into the roll spool guides
- Ensure the roll spool arms are inserted firmly into the spool guides
- Ensure the stabiliser (1) slides into the notch in the printer
- Thread the roll through the printer
- Align the edge of the roll with the upright edge of the label output slot.
- Insert the first label into the slot inside the compartment.
- Push the labels through the label output slot until the end reaches the mark as shown.
- Close the roll compartment
- When you press the power button to turn the printer on, the end of the roll aligns automatically.
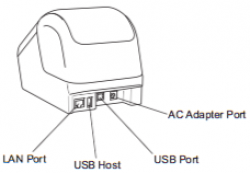
4. Connect the power supply
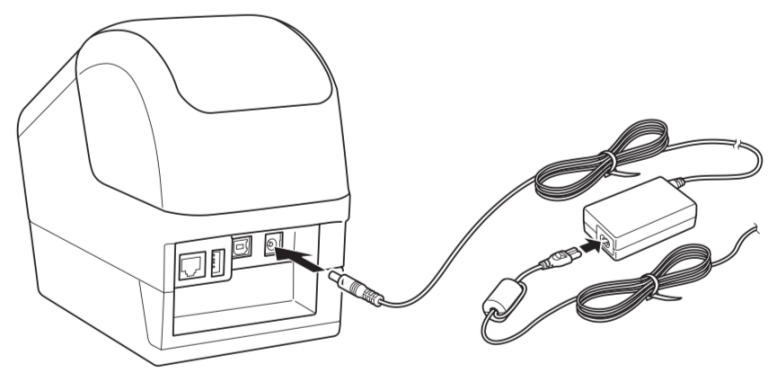
- Connect the power cord to the printer and then plug the power cord into an electrical socket.
5. Installing the coin cell battery
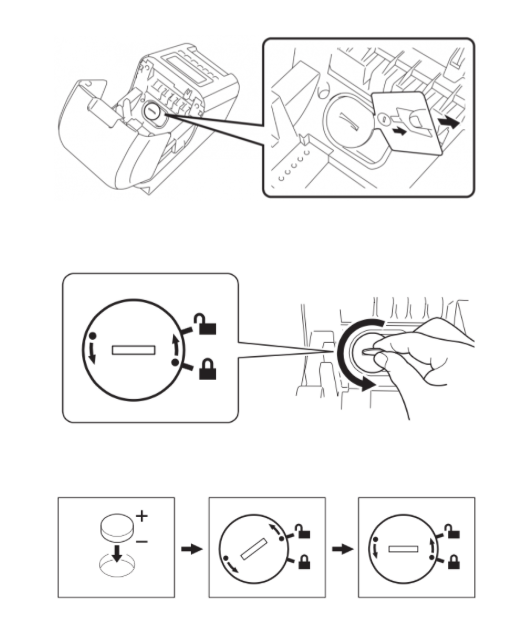
- Open the roll compartment
- Make sure the printer is off
- Hold the printer by the front
- Firmly lift the compartment cover as shown
- Pull out the insulation seal on the coin battery as shown
- Ensure the battery cover is in the lock position as shown
- Ensure batteries are always installed the correct way round as shown
6. Turning the power on / off
- On: Press the power button. The status LED lights in green.
- Off: Press and hold the power button. The status LED may light in orange until the power is off.
- When turning the printer off, do not remove the battery or disconnect the AC adapter until the orange status LED turns off.
7. Configure wifi settings
- From the main screen, press the Menu button
- Press the ▲ or ▼ buttons to select the WLAN menu then press Ok
- Press the ▲ or ▼ button to set WLAN (On/Off) to On.
- Press the ▲ or ▼ buttons to select Infra Manual Settings then press Ok
- Your printer will search for available networks at this point
- Press the ▲ or ▼ buttons to select the required network then press Ok
- This is the same network your iPad is on
- Enter your password when prompted
- Press Menu to switch between uppercase, lowercase, numbers and symbols
- Use the ▲ and ▼ buttons to select the correct characters
- The printer will display Connected
- Press Ok
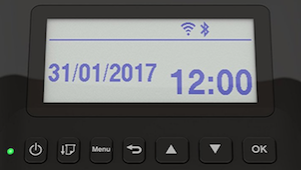
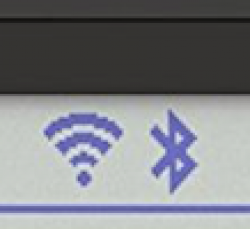
- Press ↩️ to return to the main screen. The wifi icon will be shown in the top right of the screen.
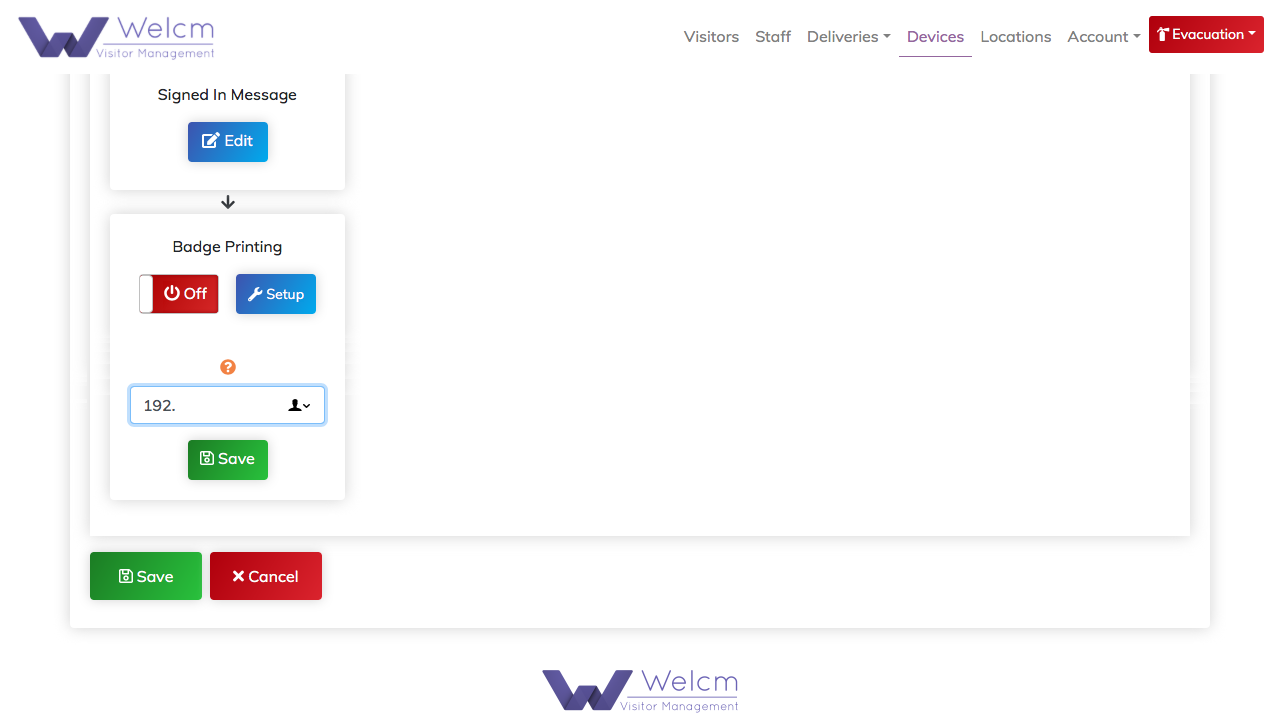
8. Turn Visitor Badge Printing On
![]()
![]()
- Go to Devices
- Click Edit on your chosen device
- Scroll down the page to Badge Printing and click Setup
- Enter the printer’s IP address into the text field
- Select your paper type from the dropdown
- Click Save which will put the badge printing switch to the “On” position
- Click Save at the bottom of the page
- All done! Your visitors will now receive a badge when they sign in